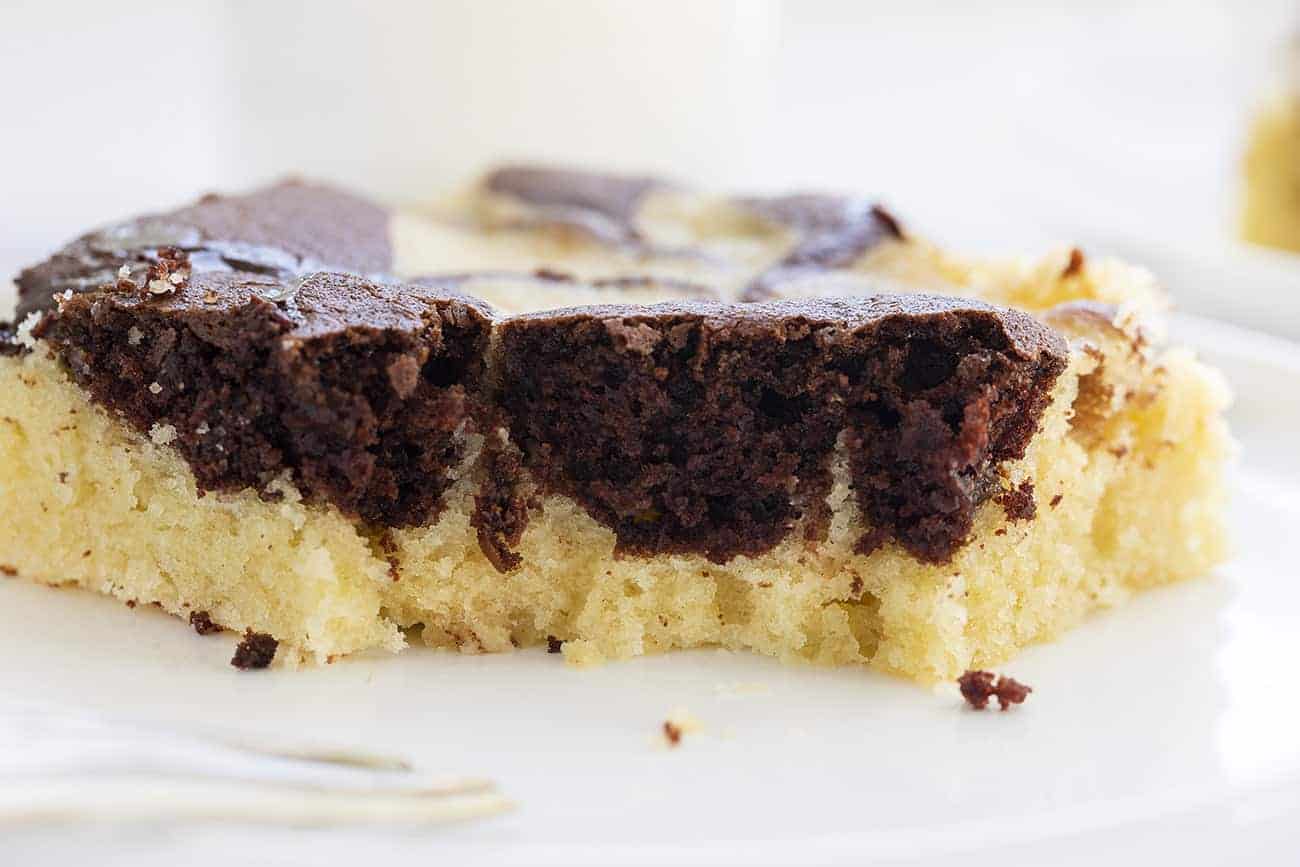

I hope everyone is still finding ways to make the best of things and stay connected to one another–especially through time in the kitchen. As we all continue to #MakeItTogether, one recipe you must try is this amazing Marble Cake. I’m even giving it an upgrade!
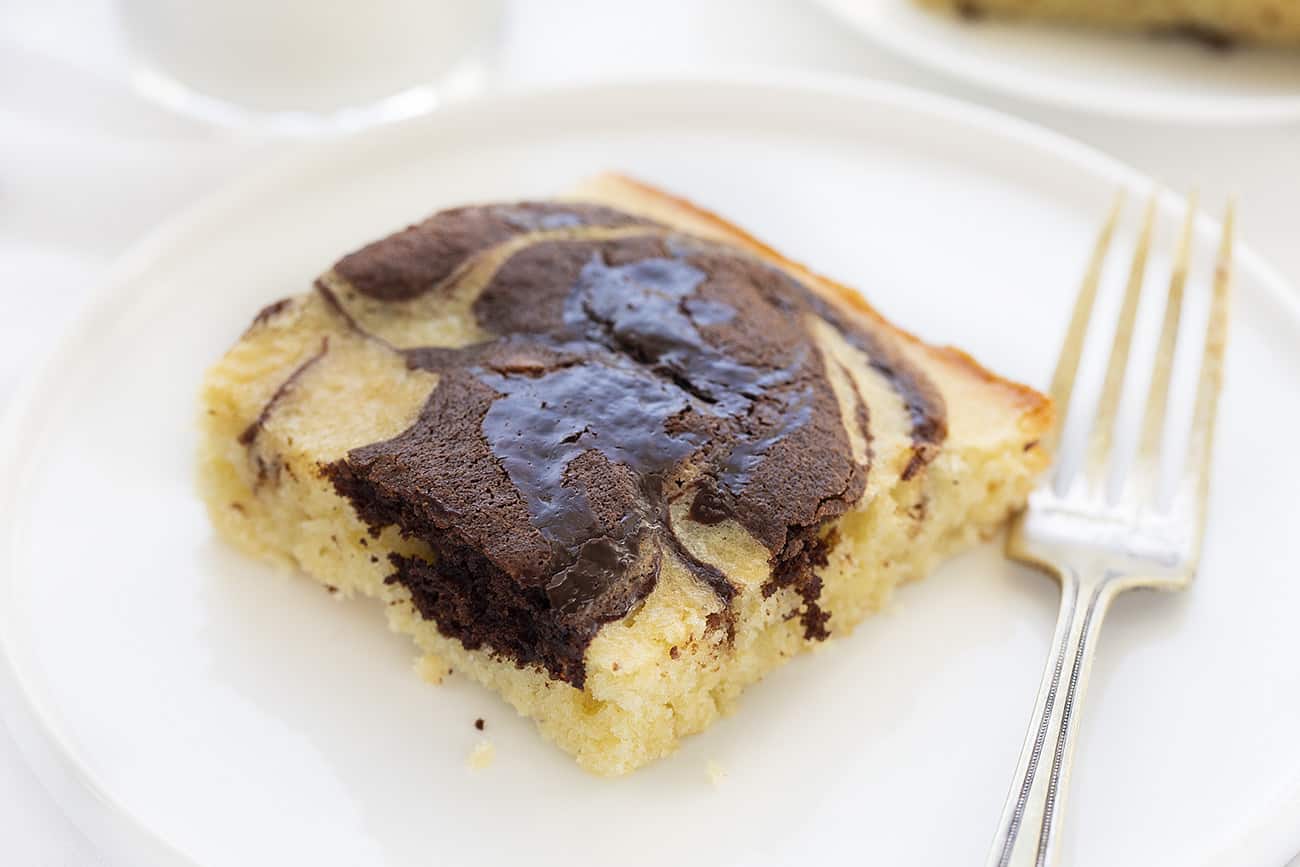
The basic flavors of vanilla and chocolate combine in the most flavorful and delicious way-and then get a rich chocolate ganache swirl-in this Marble Sheet Cake, made in partnership with KitchenAid. If you love marble cakes, try my Marble Cake with Whipped Chocolate Buttercream!
Marble Sheet Cake
Marble Cakes (known as Marmorkuchen in Germany where they originated), were cakes that used two colors of cake batter for a marbled effect. Although chocolate and vanilla cake seems to be the most popular, people have used coffee, raisins, and molasses to get the dark color in the cakes. I am sticking with the chocolate and vanilla combination in this recipe, but stepping it up with an added chocolate ganache swirl.
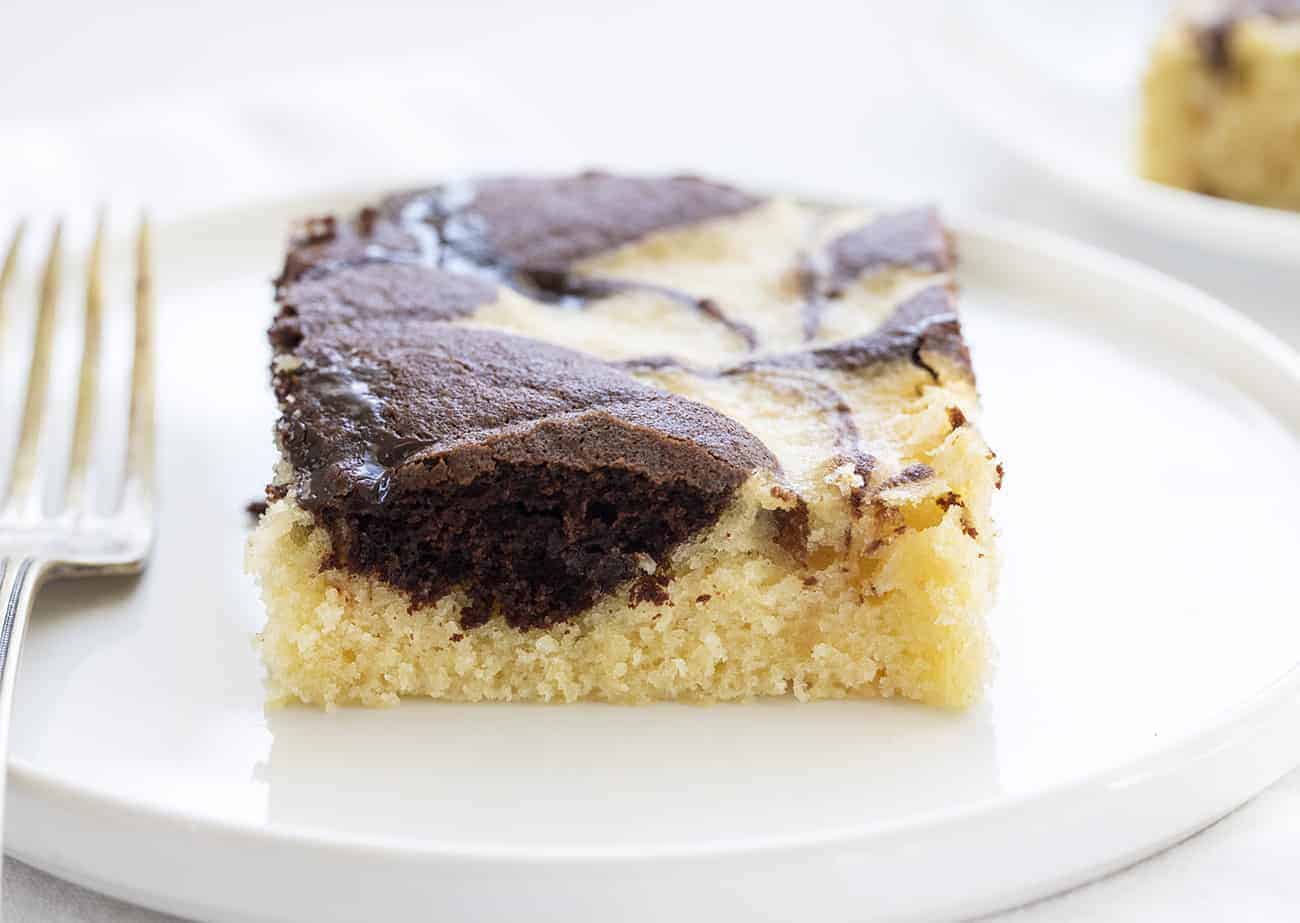
Marble Sheet Cake Recipe
When it comes to marble cakes, it’s my opinion they must taste like vanilla AND chocolate, not just chocolate. The swirl I add is minimal to show off the beauty of the cake and keep clear spots of the vanilla. There are three main parts to making this Marble Sheet Cake–the vanilla cake batter, the chocolate batter, and the ganache swirl. Making this cake was even more fun this time since I got to use my new KitchenAid Smart Oven+ with Powered Attachments!
I’m super excited about this oven. Not only does the oven have three interchangeable attachments–grill, steamer, and ceramic baking stone–that completely open up possibilities in the kitchen, but you can also control it on your phone through the KitchenAid app. This is hugely helpful for those of us who are multitasking throughout the baking process.
Vanilla Cake Batter Ingredients (full recipe below)
- Unsalted butter
- Granulated sugar
- Eggs
- Vanilla extract
- Whole milk
- Sour cream
- All-purpose flour
- Baking powder
- Kosher salt
Chocolate Cake Batter Ingredients (in addition to vanilla batter ingredients)
- Milk chocolate
- Cocoa powder
- Baking soda
Ganache Swirl Ingredients
- Semi-sweet chocolate
- Heavy whipping cream
How to Make Marble Sheet Cake
Vanilla Cake Batter
Begin by heating one ounce of milk chocolate in the microwave. Set that aside while you prepare the vanilla cake batter. The vanilla batter will be the base that holds all the chocolate marbling. To make the vanilla batter, mix together the butter with the sugar in a large bowl. You may use a hand mixer or a stand mixer. Next, add in the milk and sour cream, mixing until fully combined. (For best results, the milk and sour cream should be at room temperature.) Finally, add the flour, baking powder, and salt. Be careful not to overmix. It should be the consistency of thick pancake batter.
Chocolate Cake Batter
To make the chocolate cake batter, measure out one cup of the vanilla batter and pour it into a separate bowl. Add the 3 ounces of cocoa powder, 1/2 teaspoon baking soda, and the milk chocolate that you had melted earlier. Use your muscles to get it stirred well. It will be very thick.
Chocolate Ganache
Finally, to make the ganache, simply combine the semi-sweet chocolate with the heavy whipping cream in a small bowl. Heat up the mixture in the microwave for about a minute. Then, stir the melted chocolate and cream for another minute or so, until you get that thick, glossy ganache.
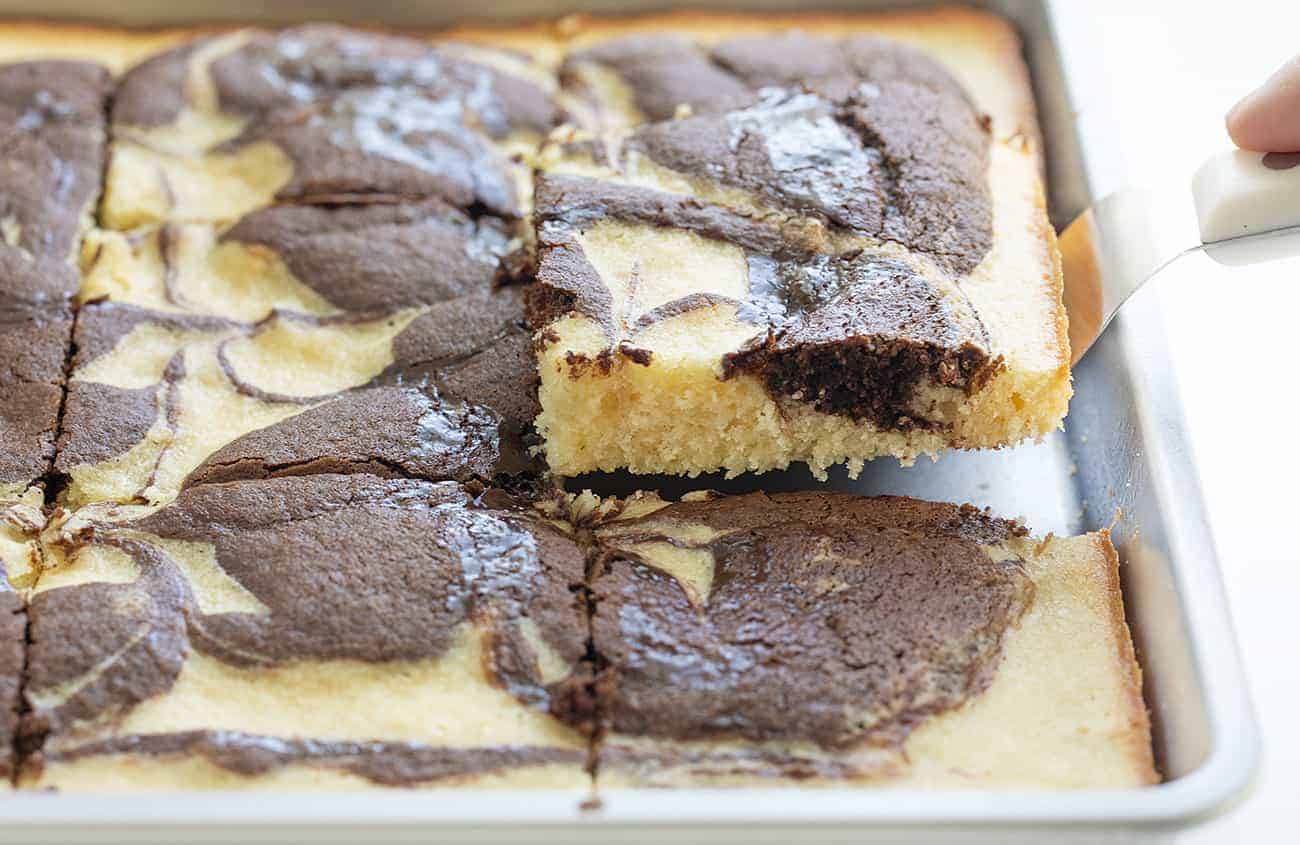
Why Add Chocolate Ganache?
There are a few reasons why you absolutely need to add the ganache on the Marble Sheet Cake. One reason is that the ganache swirl gives the cake that beautiful shine. Plus, you won’t need to add any frosting to the cake, and it keeps the cake moist. In addition, since I used semi-sweet chocolate in the ganache, it gives the cake a contrasting, but complementary, flavor. Now, let’s put it all together!
Assembling and Marbling the Marble Sheet Cake
Now that you have all the pieces ready to be put together, the all-important marbling technique comes into play. After all, you want to see that contrast between the chocolate and vanilla when you cut into the cake. Here are some pointers to get the best-marbled appearance.
- Preheat your KitchenAid Smart Oven+ to 350°F. (Did you know that you can do this from your phone? Plus, if you have a Google Assistant or Alexa-enabled device, you can set the oven to take voice commands as well!)
- Pour the vanilla batter into a 10×15-inch baking pan that has been prepared with non-stick spray.
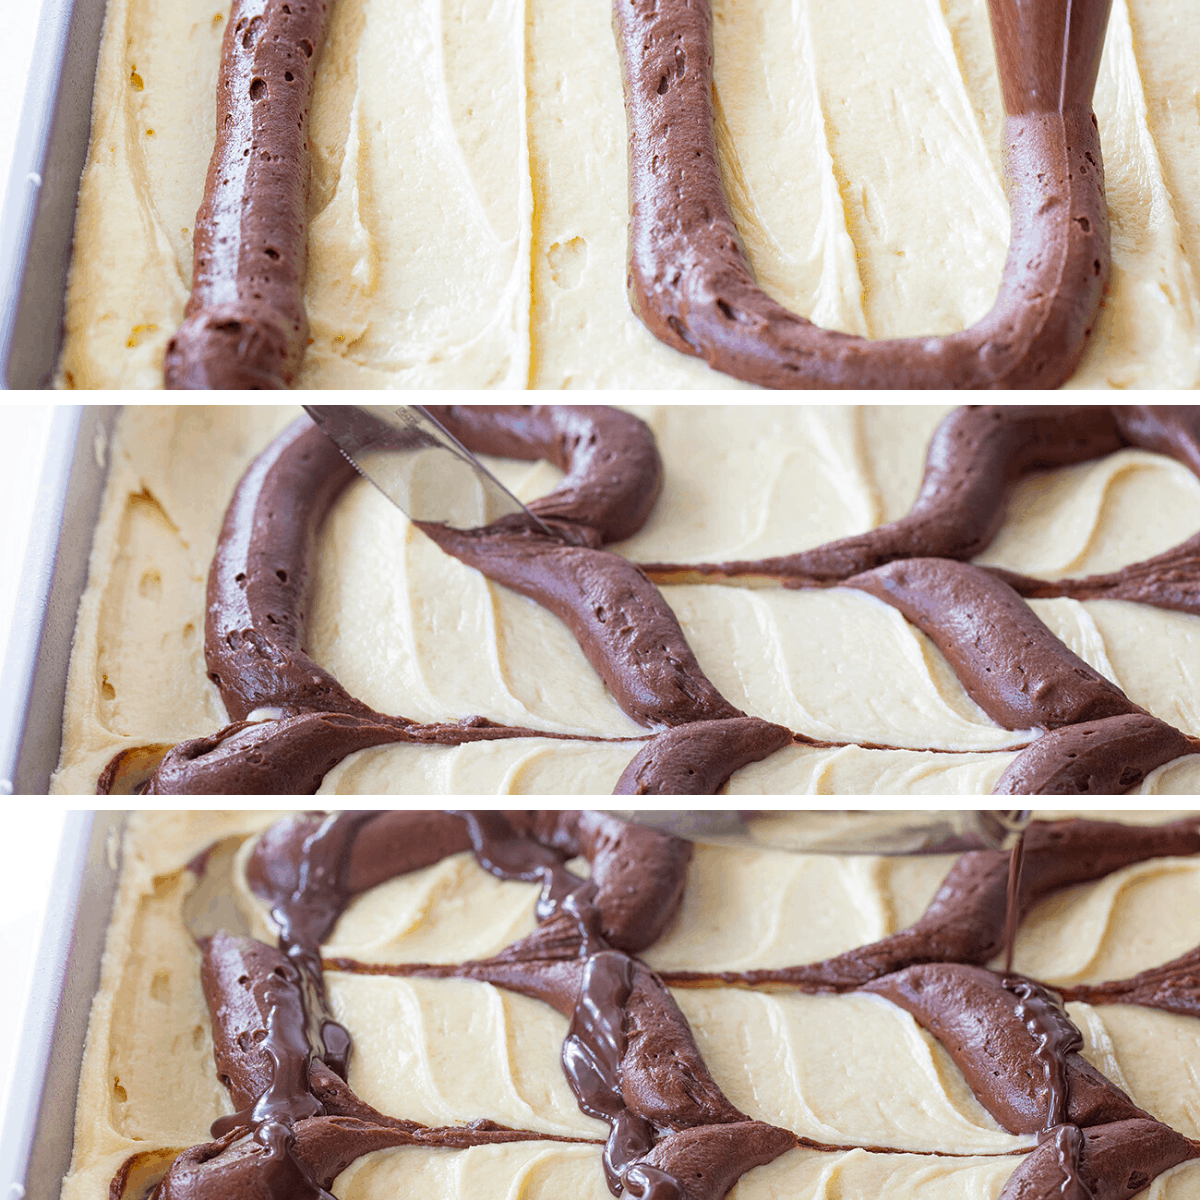
- Put the chocolate batter into a pastry bag, cutting off about 1 inch at the tip, for easier dispensing and dispersing. (Don’t panic if you don’t have a pastry bag–simply place dollops where the chocolate batter goes.)
- With the chocolate batter, make a loosely designed zig-zag pattern from end to end, on top of the vanilla batter (using a back and forth motion).
- Using a kitchen knife, make the zig-zag motion the opposite way (horizontally) blending some of the chocolate into the vanilla batter.
- Next, follow the same pattern with the ganache (zig-zag end to end, followed by blending it with the kitchen knife the opposite way). You can turn the pan and repeat if you want it more combined, but don’t do too much! You want the separation of the vanilla and chocolate.
- Bake the cake for 16-22 minutes, or until a toothpick comes out with a few crumbs, but not wet. Don’t worry about over-baking the cake while you are playing on your phone…the KitchenAid Smart Oven+ will give you an alert😀.
Disclaimer: Grill ships with the KitchenAid Smart Oven+. Baking Stone and Steamer ship separately. Visit kitchenaid.com/redeem for details.

Looking for More Cake Recipes?
Dark Chocolate Cake with Buttermilk Pecan Frosting

Ingredients
- 1 ounce milk chocolate, melted and set aside (this is for the chocolate cake batter but needs to be done first so it can cool slightly)
Vanilla Cake Batter
- 1 cup (2 sticks or 226g) unsalted butter, room temperature
- 1 1/2 cups (300g) granulated sugar
- 3 large eggs, room temperature
- 1 tablespoon vanilla extract
- 1/2 cup (122.5g) whole milk, room temperature
- 1/2 cup sour cream, room temperature
- 2 cups (250g) all-purpose flour
- 1 teaspoon baking powder
- 1/2 teaspoon kosher salt
Chocolate Cake Batter
- 3 tablespoons cocoa powder
- 1/2 teaspoon baking soda
Ganache Swirl
- 2 ounces semi-sweet chocolate, melted
- 4 tablespoons heavy whipping cream
Instructions
Preheat KitcheAid Smart Oven to 350°F.
Melt Chocolate
-
Melt 1 ounce of milk chocolate in the microwave in 30-second increments until mostly melted. Stir until all chunks are fully melted. Set aside.
Vanilla Cake
-
In a large bowl with a hand-held mixer (or in the bowl of a stand mixer) mix together the butter and granulated sugar on high until fluffy.
-
Add in eggs and vanilla and mix until combined.
-
Add in the room temperature milk and sour cream and mix until fully combined.
-
Add flour, baking powder, and salt to the batter and mix until JUST combined. There should be no lumps and the batter will be on the thicker side, like pancake batter.
Chocolate Cake
-
In a separate bowl, add one cup of the vanilla cake batter. To that, add 3 tablespoons of cocoa powder, 1/2 teaspoon baking soda, and the 1 ounce of chocolate that was melted in the beginning.
-
Stir well. (The chocolate batter will be very thick.)
Ganache Swirl
-
In a small bowl add the 2 ounces of semi-sweet chocolate and heavy whipping cream.
-
Heat for 1 minute in the microwave and then stir for about a minute. The mixture should come together and be thicker and glossier when done.
Assembly
-
Pour the vanilla cake into a 10x15-inch baking pan coated with non-stick spray.
-
Place the chocolate cake batter into a pastry bag and cut off about an inch from the top.
-
Pipe the chocolate batter onto the vanilla batter in a zig-zag pattern, starting at one end. (You may also dollop the chocolate batter in as much of the pattern as you can if you don't have a pastry bag.)
-
Take a kitchen knife and do another zig-zag pattern the opposite way (horizontally).
-
Now pour the ganache in the same loose zig-zag swirl pattern and run the knife through one more time.
-
Bake for 16-22 minutes, or until when pressed, the center of the cake bounces back. If you insert a toothpick, it should be removed with some crumbs, but not wet batter.
Video
Nutrition
from i am baker https://ift.tt/3iPidNN
via New Kitchen Special
No comments:
Post a Comment